Griddle accessories are sold by piece count, which is the least useful way to buy them. A thirty-piece kit is not three times better than a ten-piece kit; it contains the same four useful tools plus twenty-six items that will live in a drawer.
Here is the honest hierarchy, in the order a new griddle owner should actually buy.
1. A cover. Before anything else.
A correctly sized, vented cover is the cheapest item in this entire category and it protects the most expensive part of the griddle. On a bare carbon-steel top it is not an accessory, it is a requirement.
Two things decide whether a cover works: it must match your griddle’s width and hood configuration, and it must be vented. A loose or unvented cover holds condensation against the plate and does more damage than no cover at all. Sizes are not interchangeable between brands even at the same stated width. Covers by size and burner count.
2. Two stiff spatulas
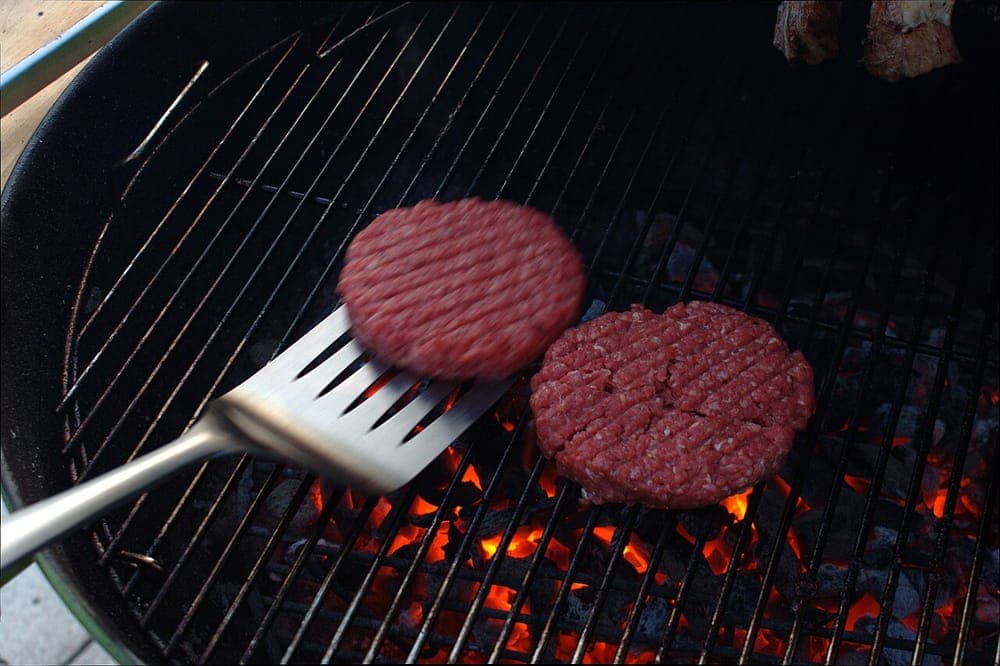
Not one. Two, because griddle technique involves working food against itself rather than against the plate. And stiff — the flexible turners that come in most kits cannot lift a smash burger that has bonded to the steel, which is the exact moment you need them.
Look for a bevelled front edge that slides under fond, and riveted rather than glued handles. Spatulas compared.
3. Squeeze bottles
The most underrated griddle tools there are. One for oil, one for water. Dosing oil by eye is how food either sticks or swims, and a narrow-tip bottle lets you lay a thin controlled line instead of a puddle. The water bottle turns the post-cook clean into a sixty-second job. They cost almost nothing and they unlock most of the technique.
4. A melting dome
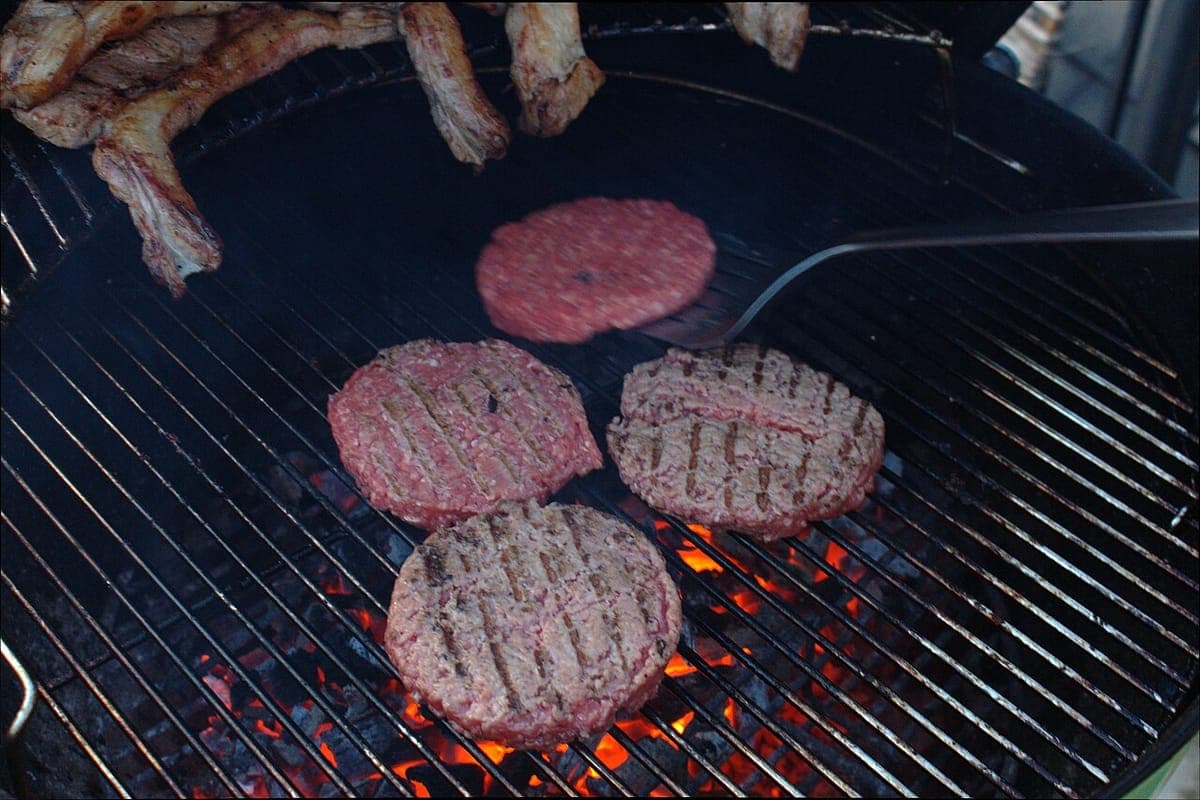
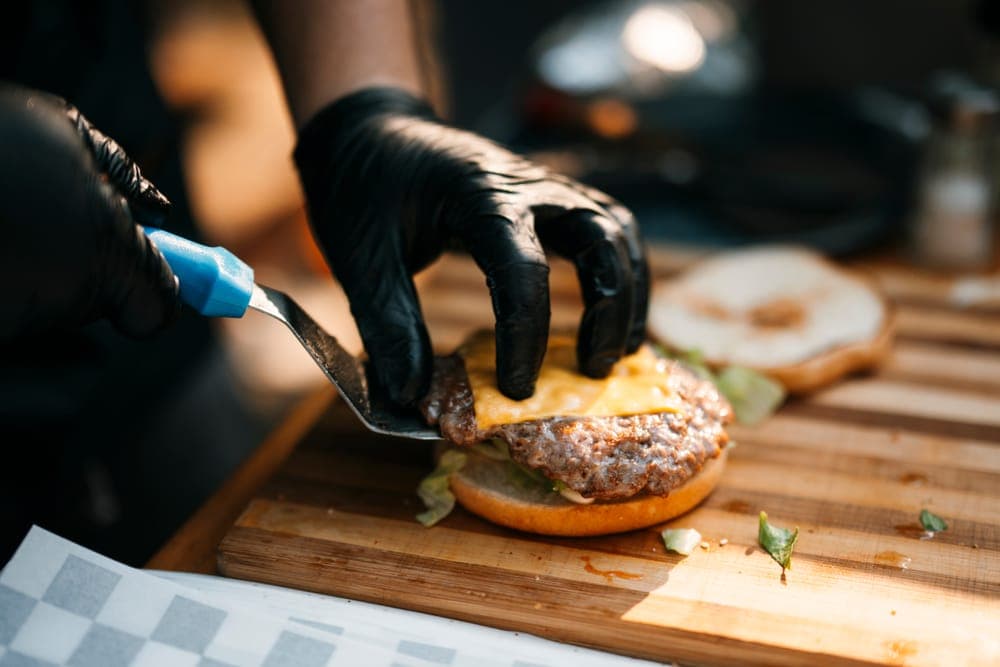
A dome plus a squirt of water turns the griddle into a steamer for thirty seconds. This solves the real smash-burger problem, which is that the patty is done in ninety seconds and cheese does not melt in ninety seconds. Stainless holds up; aluminum domes warp and then stop sealing. Domes here.
Then, if they apply to you
A smash burger press, if you make smash burgers. Mass and a dead-flat face are the only specifications that matter.
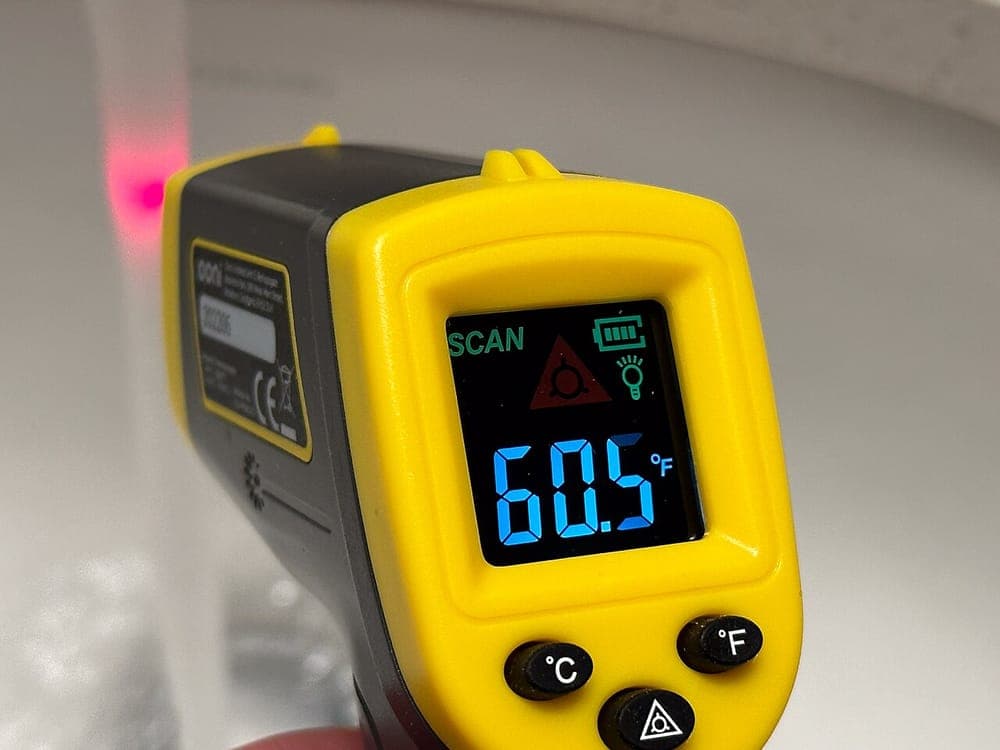
An infrared thermometer, which turns “medium heat” from a guess into a number and finds your plate’s hot spots in about thirty seconds.
A wind guard, if your patio is exposed. This is the cheapest real fix for “my griddle will not get hot enough”.
A mat, if the griddle stands on wood or composite decking. Grease stains on composite decking are effectively permanent.
Grease cup liners, which remove the single most unpleasant chore in griddle ownership for very little money.
What decides price here
Almost entirely material and fit specificity. A stainless dome costs more than aluminum and lasts indefinitely. A model-specific caddy or hard cover costs more than a universal one because it is engineered to one mounting pattern — and that specificity is also why a used one from a different model year often will not fit.
The mistake buyers make
Buying the big kit first and the cover last. It is exactly backwards. The kit is mostly filler and the cover is the thing protecting the plate. If you buy one accessory with the griddle, buy the cover; if you buy two, add a pair of stiff spatulas. Our take on what the kits actually contain.
A correctly sized vented cover, two stiff spatulas, two squeeze bottles for oil and water, and a melting dome. That is the set that changes how the griddle cooks. Everything else is situational.
Are the big 30-piece griddle accessory kits worth it?+
Only as a way to start from nothing. Piece count is a marketing number — the useful contents are the same four or five tools found in a small kit, and kit spatulas are usually thinner and more flexible than standalone ones. Judge a kit on spatula stiffness, not on how many pieces are in the box.
Does a griddle cover need to be vented?+
Yes. An unvented cover traps condensation against the cooking surface and is worse than no cover at all on a bare carbon-steel top. Look for vents and a strap or cinch so wind cannot lift it off.
What makes a good smash burger press?+
Weight and a dead-flat face. A light press bounces off the patty instead of holding it against the plate, and a domed face leaves the middle thin. Press once, hold about ten seconds, and do not press again — a second press squeezes out the juice.